Pre-Trip Vehicle Safety Inspection Checklist: 2026 Guide

Table of Contents
Why a Pre-Trip Vehicle Safety Inspection Checklist Matters
The Walk-Around Inspection: Your First 5 Minutes
What to do with what you find
How the walk-around changes by vehicle
Recording the walk-around
Pre-Trip Tire Inspection: Tread, Pressure, and Damage
Car Fluid Check Before a Trip: What to Look For
How fluid checks change by vehicle
What each reading means for the go/no-go decision
Recording the fluid check
Brakes, Steering, and Suspension: Safety-Critical Systems
Lights, Electrical, and Cab Interior Checks
Car Road Trip Checklist: Under the Hood and Beyond
Printable Vehicle Inspection Checklist and Defect Response
Frequently Asked Questions
Last Updated: October 16, 2026
Why a Pre-Trip Vehicle Safety Inspection Checklist Matters
A tire a few pounds low, a coolant level that's crept down, or a slightly soft brake pedal rarely announces itself in your driveway.
That's the real argument for a pre-trip vehicle safety inspection checklist: it converts guesswork into a repeatable process, a fixed route, fixed items, written down.
Total time for a complete pre-trip inspection: 15-20 minutes for a passenger car, 25-30 minutes if you're towing or driving a larger vehicle.
Walk-around exterior check
Tire condition and pressure
Fluid levels under the hood
Key Takeaway The purpose of a pre-trip inspection isn't to find something wrong. It's to know, with confidence, whether your vehicle is road-ready before you commit to the drive.
The Walk-Around Inspection: Your First 5 Minutes
The walk-around inspection is a slow loop around the vehicle, checking tires, lights, body panels, and the ground for leaks or damage.

What separates a walk-around that works is sequence. A fixed order means you never skip a zone, and a second driver can repeat your route exactly. Use this order, starting and ending at the driver's door:
Driver's door and front left tire (0:00-0:45). Check the door for damage, then the tire for tread, pressure, and sidewall condition.
Front of the vehicle (0:45-1:30). Headlights, turn signals, grille, front bumper, license plate, and the ground under the engine for fresh drips.
Front right tire and fender (1:30-2:15). Same tire checks, plus the wheel well for rubbing or debris.
Right side and rear right tire (2:15-3:00). Body panels, marker lights, fuel door, and the tire.
Rear of the vehicle (3:00-4:00). Tail lights, brake lights, turn signals, reverse lights, license plate light, exhaust, and the ground under the rear for leaks.
Left side and rear left tire (4:00-4:45). Body panels, marker lights, and the tire.
Return to driver's door (4:45-5:00). Note anything you found and confirm nothing was missed.
Then run a second lap with the lights on. Have someone cycle the headlights, turn signals, brake lights, and marker lights while you stand behind and in front of the vehicle.
While you circle, note any new dents, cracked glass, or loose trim.
Pro Tip Do the walk-around before you load the vehicle. Luggage, bikes, and roof racks block the sight lines you need to check tires, lights, and body panels, and they add weight that changes tire pressure and braking distance.
What to do with what you find
The walk-around is only useful if it ends in a decision. Sort every finding into one of three buckets:
Fix now, drive after. A burned-out bulb, a low tire, a loose mirror housing, or a wiper blade that has separated. These are quick and cheap, and there is no reason to leave with them unresolved.
Document and monitor. A small windshield chip, a slow weep at a valve cover, or a tire with a nail in the tread that is holding pressure. Record it, check it again before the return trip, and schedule service.
Do not drive. A tire bulge, a puddle of brake fluid or coolant, a cracked wheel, a brake pedal that sinks, or any leak you cannot identify. A defect you cannot explain is a defect you should not drive on.
If you are not sure which bucket a finding belongs in, treat it as the more serious one until someone qualified tells you otherwise.
How the walk-around changes by vehicle
The five-minute loop assumes a passenger car or light SUV. Adjust it for what you operate:
Passenger cars and light SUVs: the sequence above, 5 minutes.
Pickups and vans: add a load check. Confirm cargo is secured, the tailgate or rear doors latch, and the rear suspension is not squatting. Add 2-3 minutes.
Buses and motorcoaches: add a passenger-compartment pass (emergency exits, aisle clear, seat belts), an undercarriage look for air leaks, and a brake test at low speed. Add 10-15 minutes.
Watch Out Never "top off" a tire that is losing pressure repeatedly without finding out why. A slow leak from a nail or a failing valve stem can become a blowout at highway speed.
Recording the walk-around
Write down what you checked and what you found, even when everything passes. A one-line entry per zone is enough: date, vehicle, odometer, zones checked, defects noted, action taken. Over a few months, that log shows patterns, a tire that keeps losing pressure, a fluid level that keeps dropping, and patterns let a shop catch a developing problem before it strands you.
Pre-Trip Tire Inspection: Tread, Pressure, and Damage
A pre-trip tire inspection checks four things on every tire: tread depth, inflation pressure, sidewall condition, and uneven wear patterns. Tires are the most safety-critical component on the vehicle and the easiest to neglect.
Work through each tire methodically:
Tread depth, use the penny test or a tread gauge. Worn tread loses grip in rain and hydroplanes more easily.
Pressure, check with a gauge when tires are cold, and compare against the placard inside the driver's door jamb, not the number molded on the sidewall.
Sidewalls, look for cuts, bulges, and dry cracking. A bulge means internal cord damage and that tire should come off the road.
Wear pattern, uneven wear across the face of the tire often points to alignment or suspension problems.
Don't forget the spare. Check its pressure and confirm the jack and lug wrench are in the vehicle.
Car Fluid Check Before a Trip: What to Look For
A car fluid check before a trip covers engine oil, coolant, brake fluid, power steering fluid, transmission fluid, and windshield washer fluid. Check them with the engine cool and the vehicle on level ground.
Work in this order so you are not opening hot caps or leaning over a running engine:
Engine oil (cold, engine off). Pull the dipstick, wipe it, reinsert fully, pull again. Read the level between the low and full marks. Look at the color: amber to dark brown is normal; milky or frothy means coolant is mixing with oil, and gritty means metal is wearing.
Coolant (cold, engine off). Read the level in the reservoir against the cold-fill line. Never open a radiator cap on a warm engine. A sweet smell or a low level with no visible puddle means the system is losing coolant somewhere you cannot see.
Brake fluid (cold, engine off). Read the level in the master cylinder reservoir against the full line. Dark, cloudy fluid or a level that has dropped since your last check points to moisture, a leak, or worn brake components.
Power steering fluid (cold, engine off). Read the reservoir level. Whining or a stiff wheel when turning is the symptom to watch for, not just the level.
Transmission fluid (follow the owner's manual). Many vehicles require the engine running and the transmission in park or neutral, at operating temperature, for an accurate reading. Check the level and the color: pink or red is healthy, dark brown or black with a burnt smell means the fluid is overdue.
Windshield washer fluid (any time). Fill the reservoir. On a long drive through bugs, dust, or winter road spray, you will use more than you expect.
Fluid | Where to Check | Healthy Reading | Warning Sign |
Engine oil | Dipstick | Between low and full marks, amber to dark brown | Milky, gritty, or below the low mark |
Coolant | Reservoir | At or above the cold-fill line | Low level, sweet smell, visible crust at hose joints |
Brake fluid | Master cylinder reservoir | At the full line, clear to light amber | Dark, cloudy, or dropping level |
Power steering fluid | Reservoir | At the full line | Whining when turning, stiff steering |
Transmission fluid | Dipstick or check plug | Pink or red, at the correct mark | Dark or burnt smell, low level |
Washer fluid | Reservoir | Full | Empty before a long drive |
Low coolant or brake fluid is not just a "top it off" situation. Both systems are closed, so a dropping level usually means a leak somewhere. Find it before you drive.
How fluid checks change by vehicle
The six-fluid list above fits a passenger car or light SUV. Adjust for what you operate:
Passenger cars and light SUVs: the sequence above, 5-8 minutes.
Pickups and vans: add diesel exhaust fluid (DEF) on diesel models, and check the differential and transfer case if the vehicle has been through deep water or heavy towing. Add 3-5 minutes.
Buses and motorcoaches: add air-system checks (governor cut-out, air dryer, tank drains) and a coolant level check at the sight glass. Add 10-15 minutes.
What each reading means for the go/no-go decision
A fluid check is only useful if it ends in a decision. Sort every finding into one of three buckets:
Top off and go. Washer fluid low, oil a half-quart down with no visible leak, coolant a finger-width below the cold-fill line with no smell and no crust. Top off, note it, and check again at the next stop.
Document and monitor. A slow weep at a valve cover, a brake fluid level that is a hair low but stable, a transmission fluid that is slightly dark but not burnt. Record it, check it again before the return trip, and schedule service.
Do not drive. A brake fluid level that has dropped noticeably, coolant loss with a sweet smell or visible crust, milky oil, or any puddle you cannot identify. A defect you cannot explain is a defect you should not drive on.
Watch Out Never open a radiator cap or a coolant reservoir cap on a warm engine. The system is pressurized, and the release can send scalding coolant and steam into your face and arms. Wait until the engine is cool to the touch.
Recording the fluid check
Write down what you checked and what you found, even when everything passes. A one-line entry per fluid is enough: date, vehicle, odometer, fluid checked, reading, action taken. Over a few months, that log shows patterns, like a coolant level that keeps dropping or a brake fluid reservoir that keeps needing a top-off, and patterns are what let a shop catch a developing problem before it strands you.
Brakes, Steering, and Suspension: Safety-Critical Systems
The brake system and parking brake deserve their own pass because they're the systems you rely on most and the hardest to inspect by eye. With the engine off, press the brake pedal firmly.
Then check steering and suspension:
Turn the wheel slightly and listen for clunks or creaks
Push down on each corner of the vehicle and release; it should settle in one motion, not bounce
Look at the tires again for cupping or feathering, which points to worn suspension parts
A parking brake that doesn't hold on a slight incline is a defect worth fixing before a trip, especially if you'll be parking on hills. If any check feels wrong, have the vehicle looked at before you load it up.
Pro Tip Do your brake and steering check on a quiet street or empty lot, not in your driveway. You need a little roll and a little steering input to feel what the vehicle is actually doing.
Lights, Electrical, and Cab Interior Checks
Lights and the electrical system are where small failures hide until they matter. Headlights, marker lights, turn signals, brake lights, and hazard flashers all need to work, and the cab interior is where you confirm warning lights and controls behave correctly.
Inside the vehicle, check:
Dashboard warning lights, note any that stay on after startup. An engine warning light, ABS light, or battery light shouldn't be ignored.
Windshield and wipers, a cracked windshield or worn wiper blades are a real hazard in rain. Top off washer fluid while you're at it.
Mirrors, adjust them and confirm they hold position.
If you're towing, this is also where you confirm the trailer coupling is secure and the trailer lights respond to your brake and turn signals.
Car Road Trip Checklist: Under the Hood and Beyond
A car road trip checklist goes past the vehicle itself and covers what you carry and what you know before you leave.
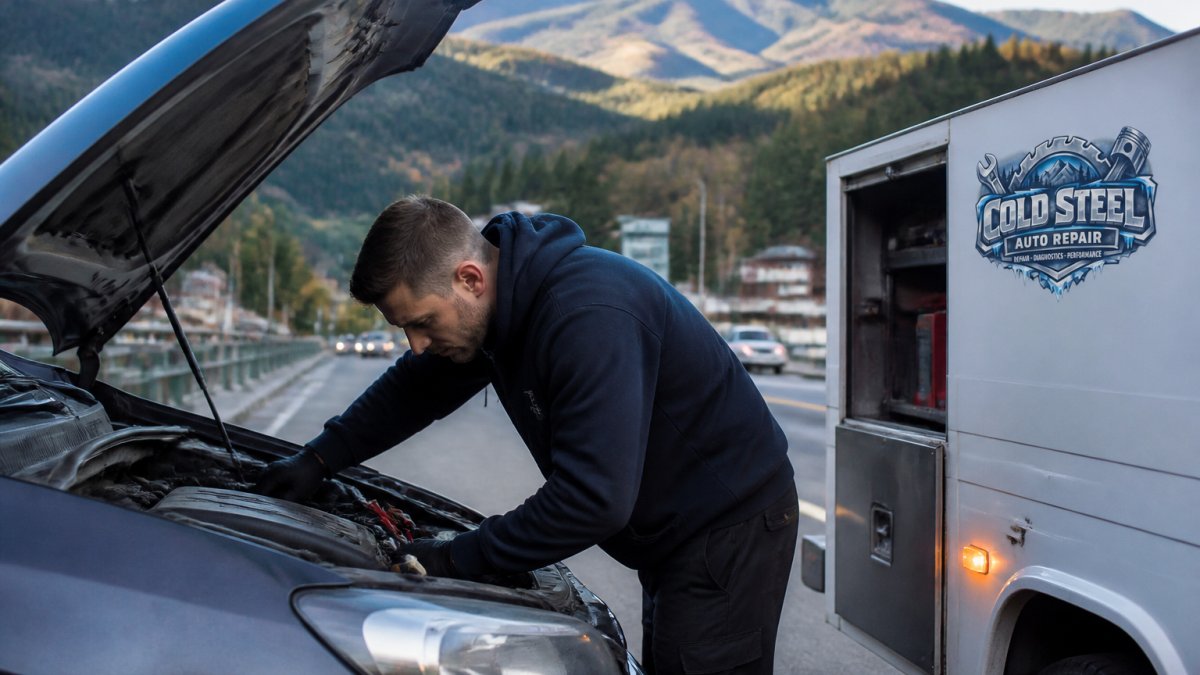
Under the hood, confirm the engine compartment is free of obvious leakage, that hoses and belts aren't cracked or glazed, and that battery terminals are clean and tight.
Beyond the hood, pack and confirm:
Spare tire, jack, and lug wrench
Jumper cables or a jump pack
Flashlight and basic tools
If you're heading into mountains or remote stretches, check the weather and route conditions in advance.
Printable Vehicle Inspection Checklist and Defect Response
A printable vehicle inspection checklist turns the walk-around into a repeatable routine you can hand to any driver and file for your records.
Use the checklist above as your template. Print it, or keep it on your phone, and mark each item as you go. When you find a defect, don't just note it. Decide what it means:
Minor (a burned-out marker light, low washer fluid): fix it now, it's quick.
Moderate (worn wiper blades, low tire pressure): address it before the trip starts.
Serious (brake pedal feel, coolant loss, tire bulge): do not drive until it's diagnosed.
That last category is where a pre-trip vehicle safety inspection checklist earns its keep.
This is exactly the kind of call our team at Cold Steel Auto Repair llc makes every day.
Documenting your inspections also builds a maintenance history.
Frequently Asked Questions
What should you check during a pre-trip vehicle inspection?
Check tires (pressure, tread, damage), fluid levels (oil, coolant, brake, power steering, windshield washer), belts and hoses for cracks or leaks, all lights (headlights, brake lights, turn signals), brake function, steering play, and emergency supplies. A pre-trip vehicle safety inspection checklist helps you cover these systematically. Cold Steel Auto Repair in Gatlinburg offers full inspections if you prefer a professional once-over.
How long does a pre-trip vehicle inspection take?
A thorough DIY inspection takes 15 to 30 minutes. The walk-around and tire check take about 5 minutes, fluid checks another 5 to 10, and lights/brakes 5 to 10. If you find issues, add time for repairs. For a professional inspection, schedule 1 to 2 hours at a shop like Cold Steel Auto Repair.
Can I do a pre-trip vehicle inspection myself?
Yes, most checks are DIY-friendly: tire pressure and tread, fluid levels, light operation, and visual belt/hose inspection. However, brake pad thickness, suspension play, and undercarriage leaks may need a lift and tools. If you're unsure, have a certified mechanic perform the inspection. Cold Steel Auto Repair offers pre-trip inspections for Gatlinburg travelers.
How do I know if my brakes are safe for a road trip?
Look for pad thickness above 3mm, no grinding or squealing, a firm pedal that doesn't sink, and no pulling when braking. If the pedal feels soft or the car vibrates, get them checked. A mechanic can measure pad and rotor condition accurately. Don't risk it; brake failure on a mountain road is dangerous.
What emergency supplies should I keep in my car?
Carry a spare tire (inflated), jack, lug wrench, jumper cables, flashlight, first-aid kit, reflective triangles, extra coolant and oil, and a basic tool kit. In winter, add blankets, ice scraper, and cat litter for traction. These items help if you face a breakdown on a remote stretch.
When should I have a mechanic inspect my vehicle before a trip?
If your trip exceeds 500 miles, your car has over 100,000 miles, or you've noticed odd noises, leaks, or warning lights, a professional inspection is wise. Also, if it's been more than 6 months since your last service. Cold Steel Auto Repair recommends a pre-trip check for anyone driving through mountain terrain like the Smokies.
A pre-trip inspection only works if you act on what it finds, and some defects need a trained eye to judge. If your walk-around turns up something you can't explain, don't gamble on a long drive. Cold Steel Auto Repair llc offers certified mechanics, 30 years of experience, and honest, transparent communication so you know exactly what's wrong and what it takes to fix it. Book your pre-trip inspection with Cold Steel Auto Repair llc and hit the road knowing your vehicle is ready.
Set Appointment Today

Comments